
One of the easiest forms of sensory play for babies and toddlers is creating a sensory bottle. DIY sensory bottles are staples in our household. What I love about them is how creative you can get with them, as well as being something your little ones can grow with.
I made my first set of sensory bottles when the girls weren’t even crawling and they’re still using them, just finding new ways to play with them. There are so many different things you can put inside of them. You can get as creative or as simple as you want. You can use them for tummy time as your little ones watch the glitter fall own or for a tool to help toddlers calm down or for shaking during music time. Really, the possibilities are endless!
When it comes to making them, my favorite place to buy supplies is at the dollar store. The one where EVERYTHING is one dollar. If you haven’t discovered what a gem the Dollar Tree is when it comes to kids crafts, well, you’re welcome. They have everything you need and more. You can even order on their website and have things shipped directly to your house.
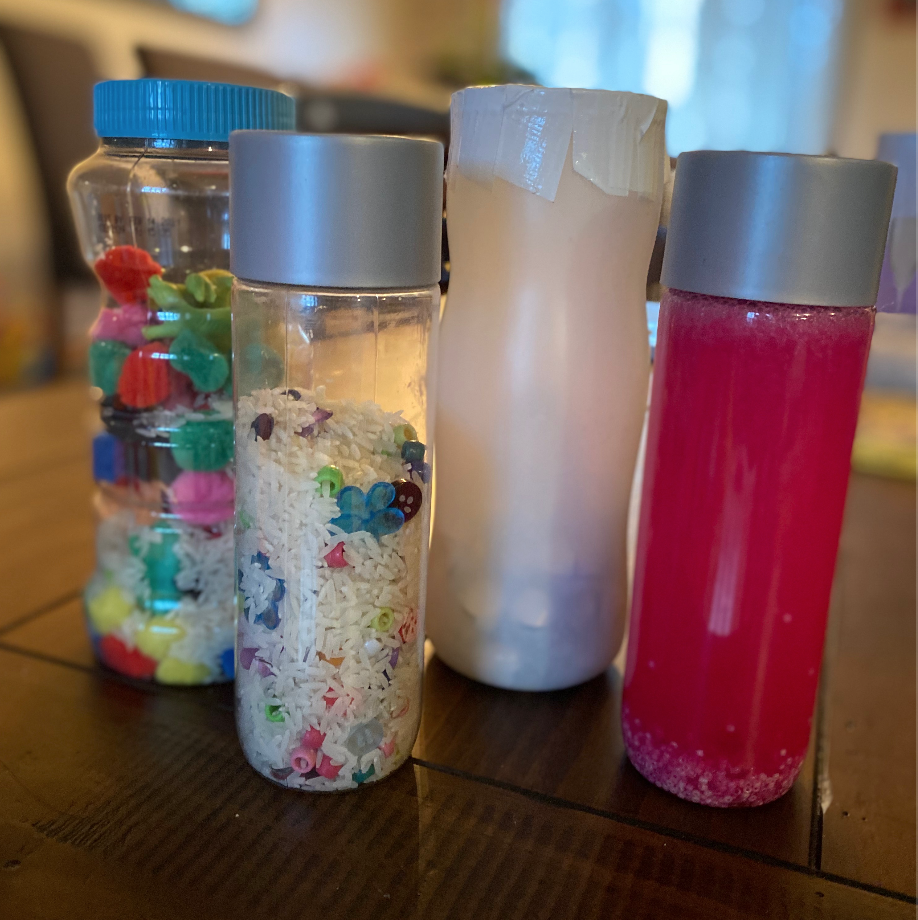
I’ve included a few examples of sensory bottles that I’ve made, but like I said, the possibilities are endless. Just get creative and just like everything, trial and error to see what works.
What You Need:
(I’ve bolded the important items. Other items are suggestions on what to put in the bottles)
– Plastic Bottles (cleaned & dried)
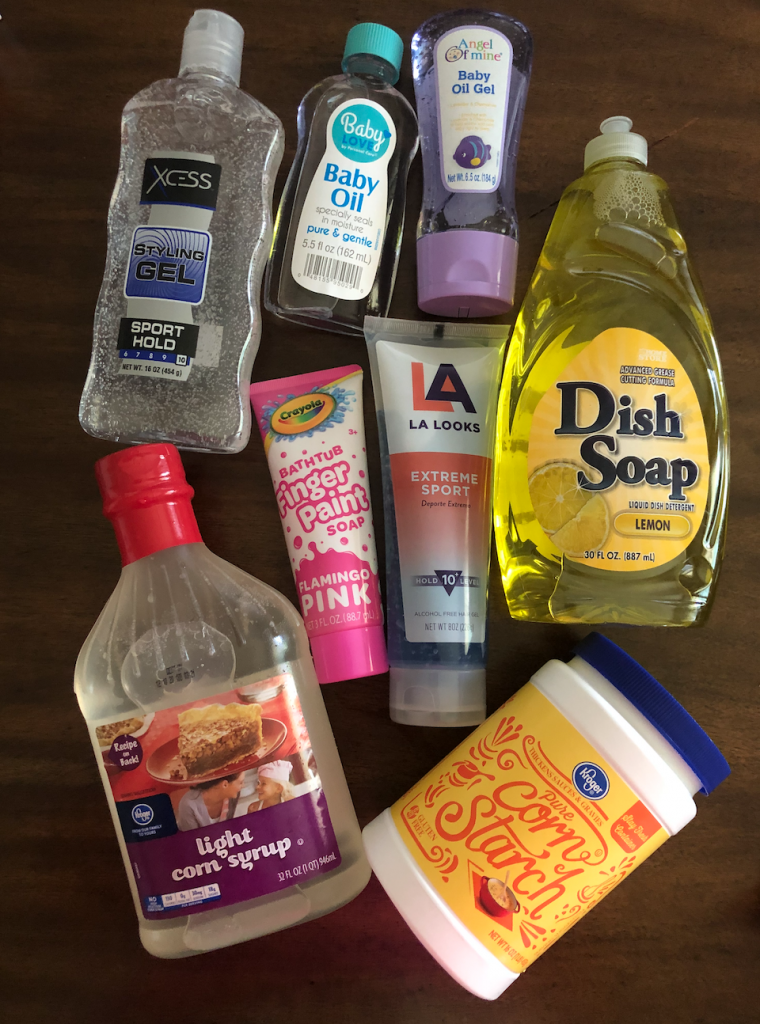
– Corn Syrup
– Water
– Food Coloring
– Beads
– Rice
– Pom Poms
– Glitter
– Small Plastic Animals
– Googley Eyes
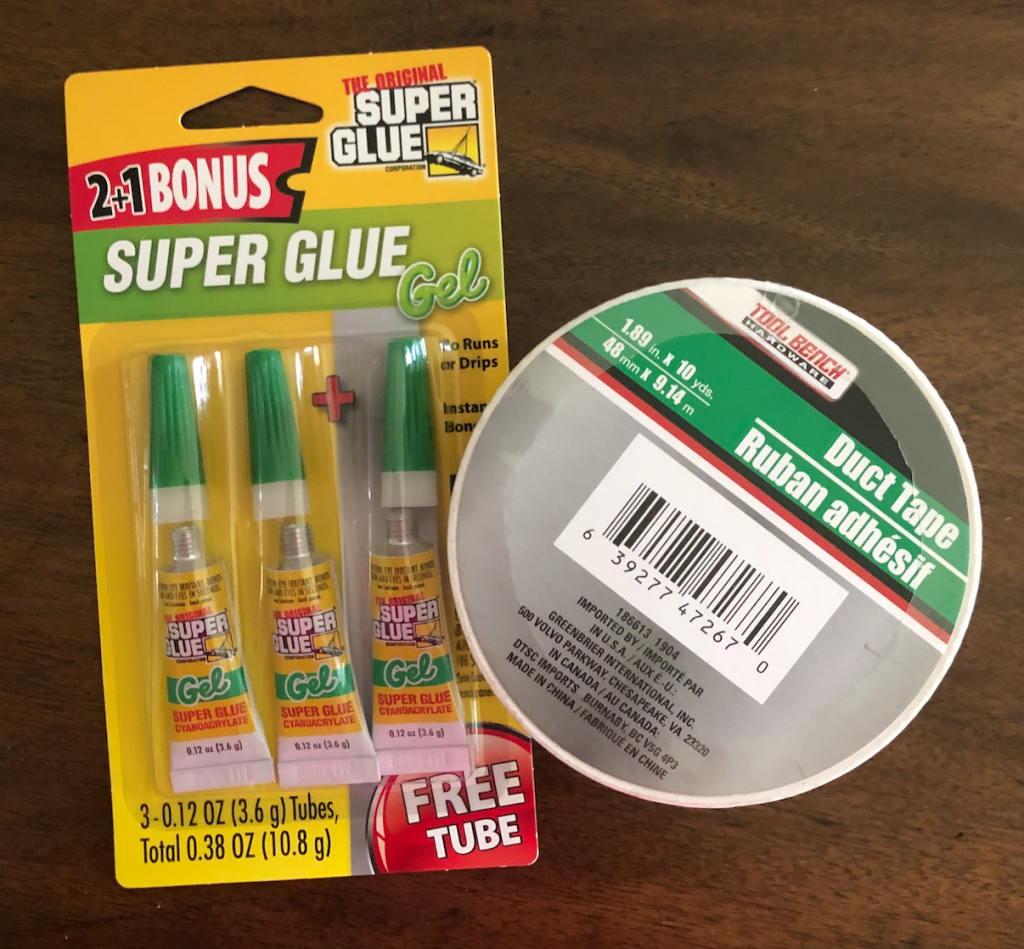
– Superglue
I find most of my “ingredients” for sensory bottles at the Dollar Tree. You’ll be surprised what you can find and it’s all just $1!
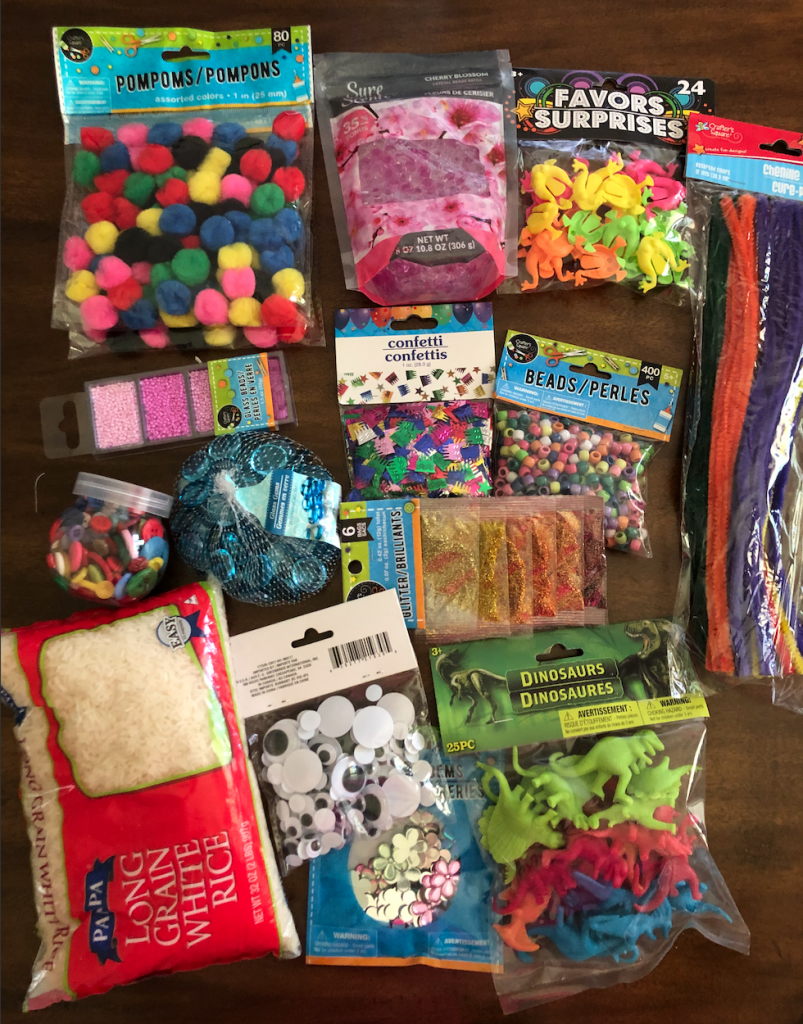
All from the Dollar Tree 
I made a few different types of sensory bottles and will show you how, but really, use your imagination or whatever you find at the store. Whatever your kids are into, put it in a bottle. What you like, put in a bottle. Whatever you think fits, put it in a bottle. The possibilities are endless! I will say, rice is a great base for a ton of different bottles. It makes a really cool noise, plus it sort of hides what you put inside – making it even more exciting when you shake it.
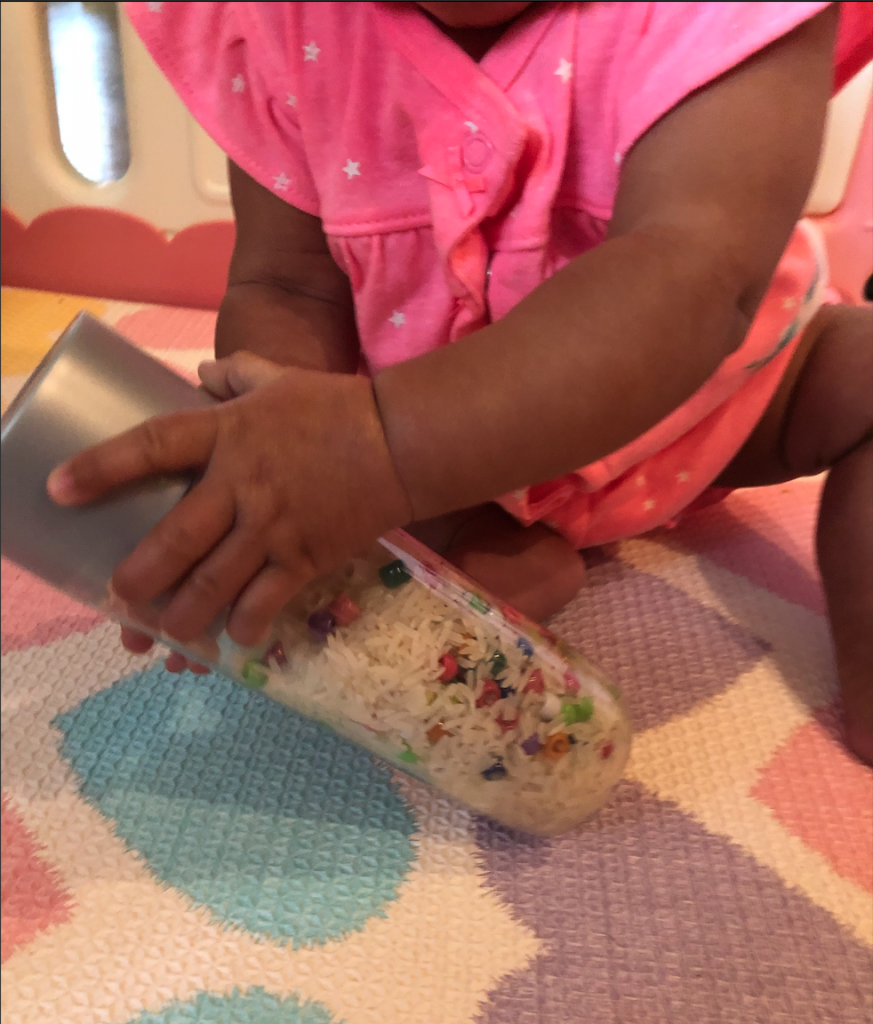
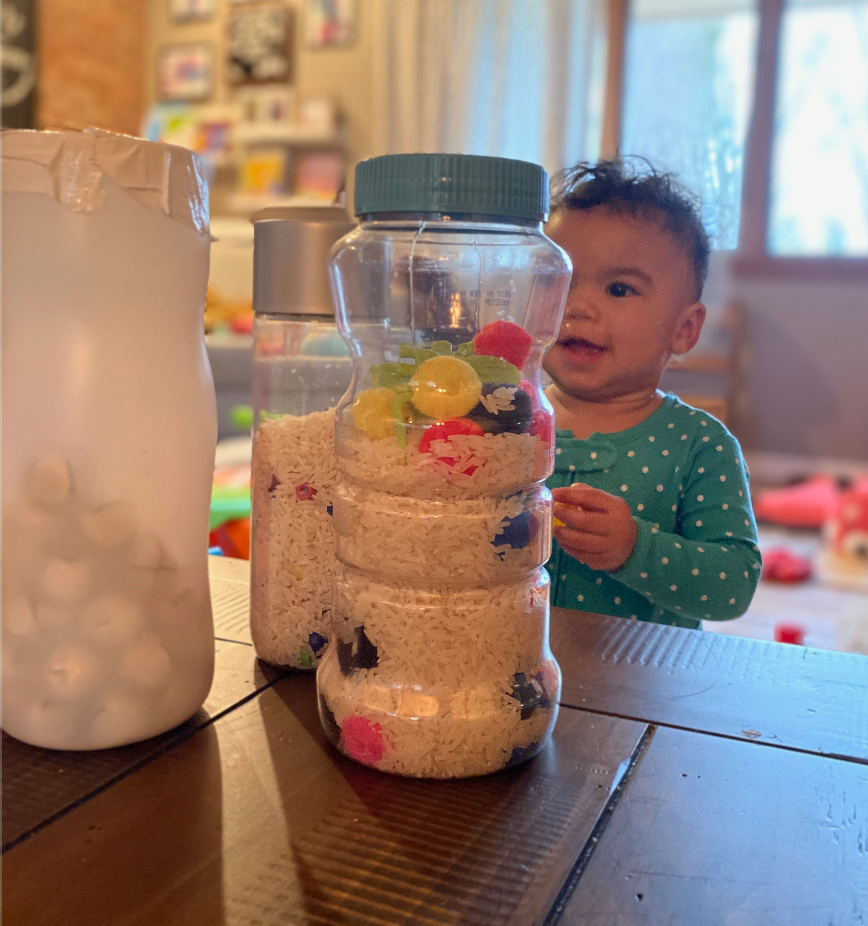
Rice & Beads
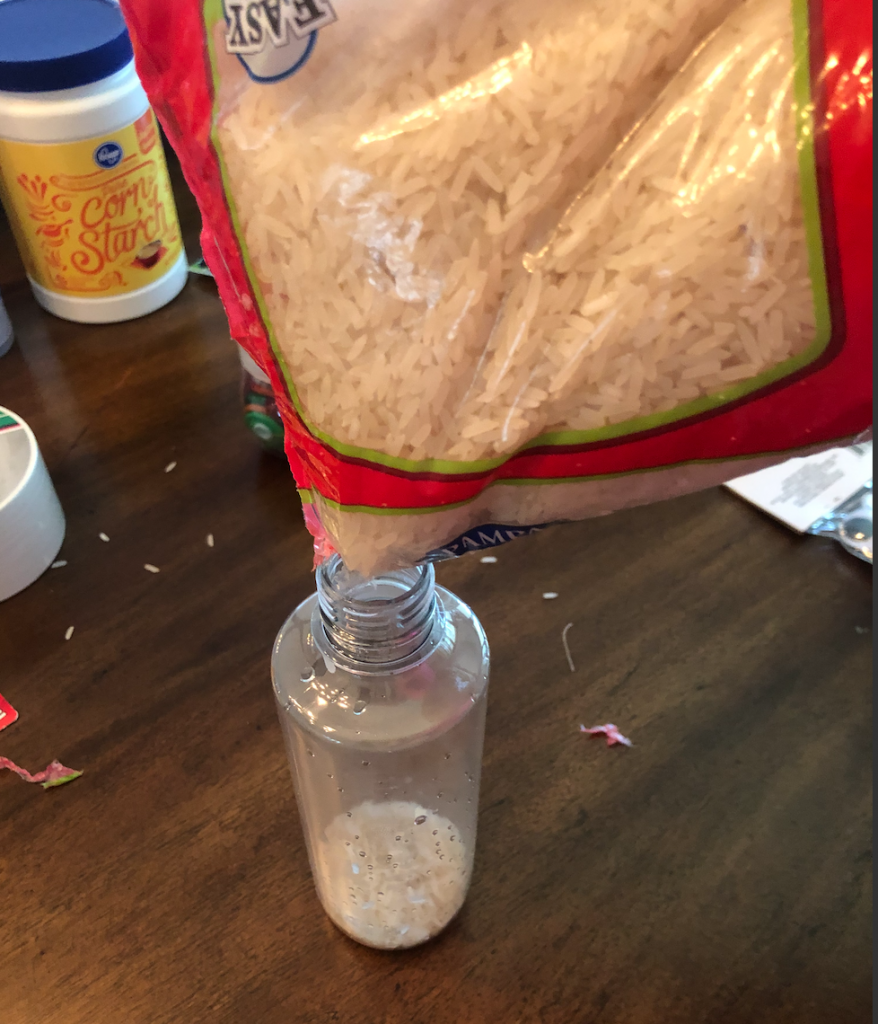
Step 1 : Wash and dry your bottle. This is very important. I didn’t dry the first bottle and it ended up looking very cloudy once the rice was in there and shook around a few times.
Step 2 : Fill the bottle with rice. I would say half to three fourths of the way depending on what else you’re adding. You want to leave room to be able to shake the contents. For this bottle, I only added beads, so I put a little extra rice.

Tip: Use a funnel of some sort to add to the bottles. It makes it easier to fill + it isn’t as messy. My first attempt without the funnel left rice everywhere!
Step 3: Once you’ve finished adding your rice, it’s time to add the beads. Just as your added the rice, do the same with the beads. Keeping in mind, not to fill it to the top. You want room to shake!


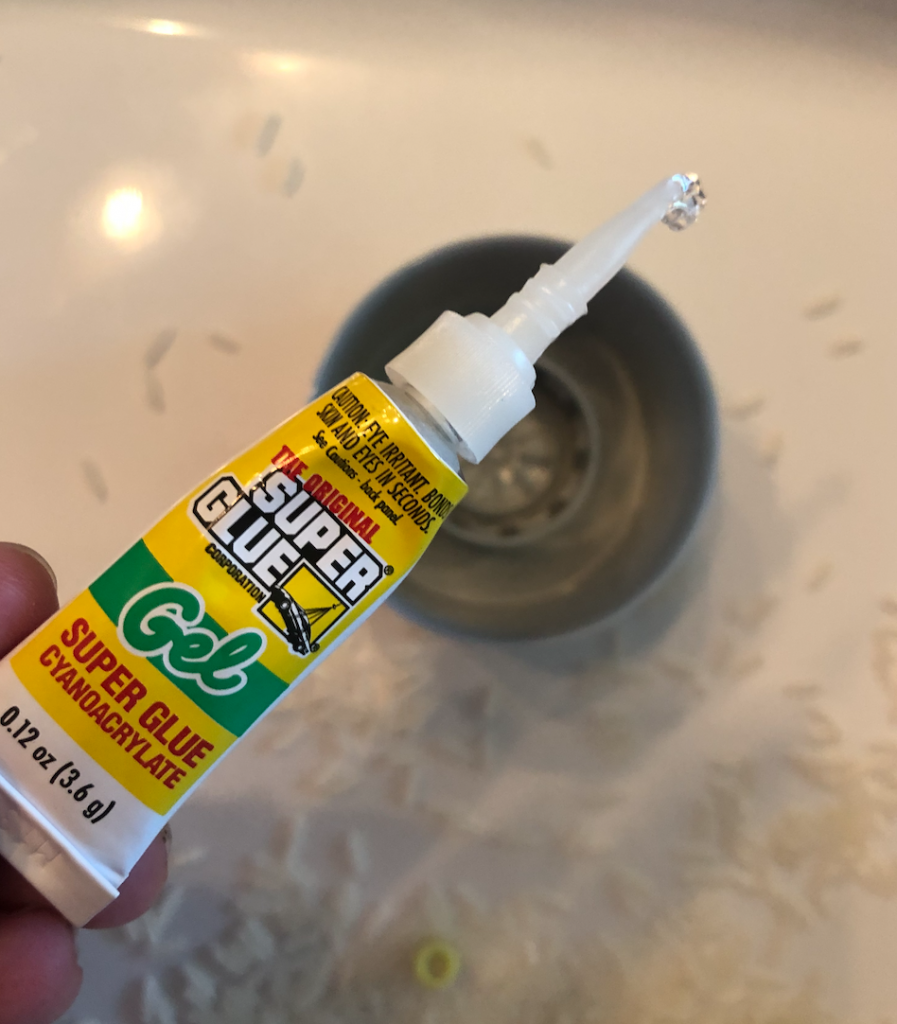
Step 4: It’s time to secure your bottle. I use super glue and lots of it. You do not want you toddler to be able to take the lid off and spill rice/beads everywhere! Hello, major choking hazard. I’ve even added duct tape to the outside to secure it even more.
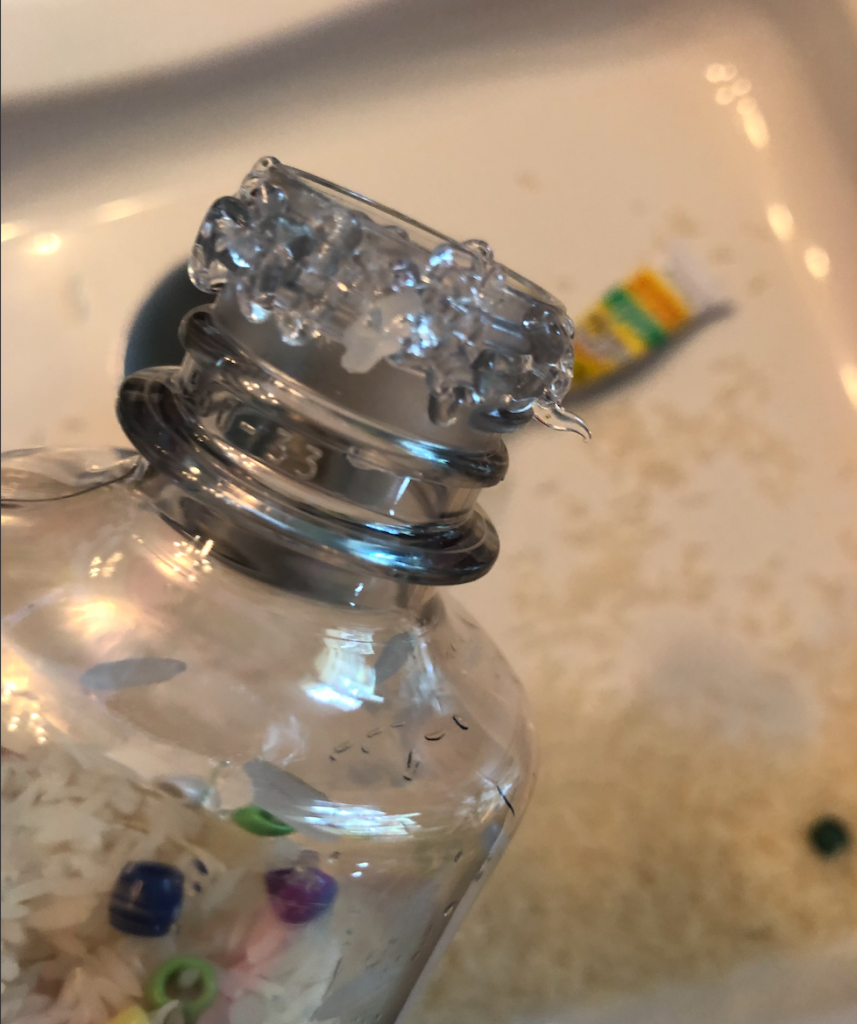
Let your glue dry a bit and that’s it! You’ve created your sensory bottle. Time to get your kiddos approval!
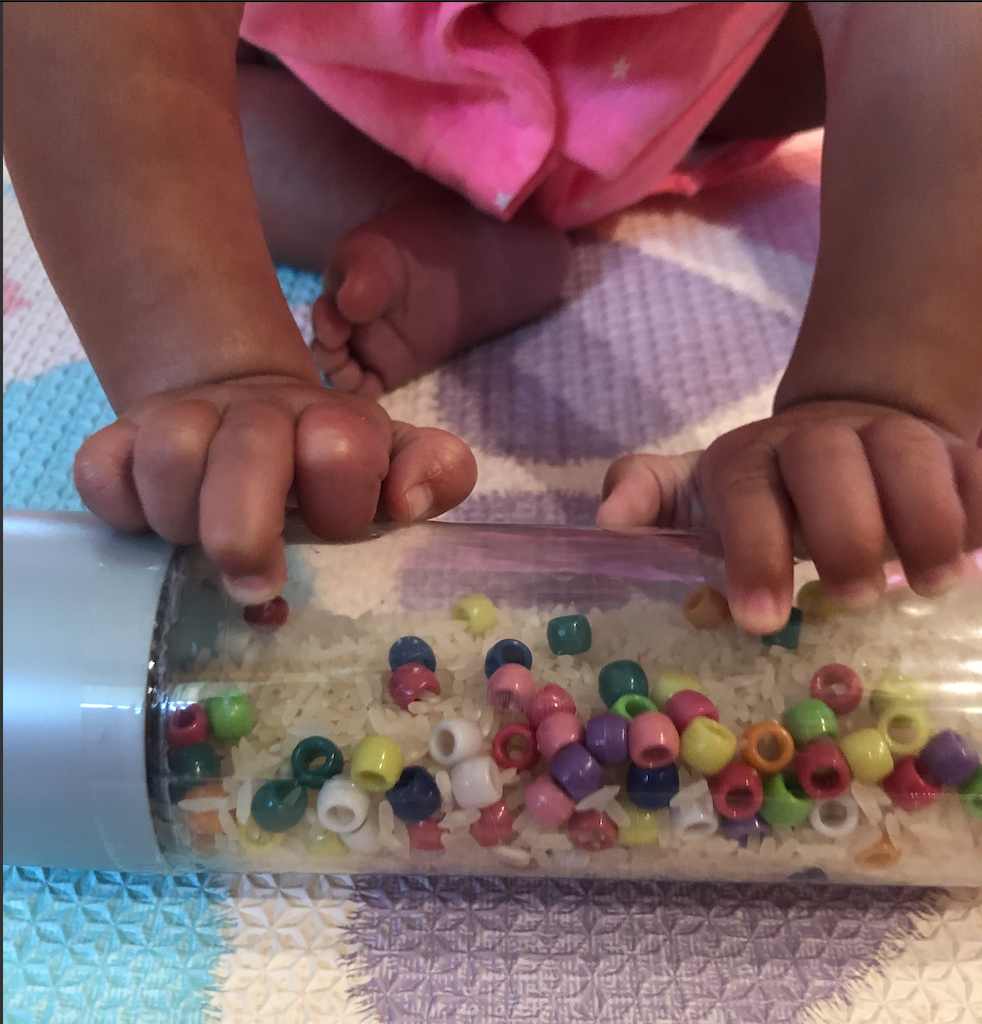
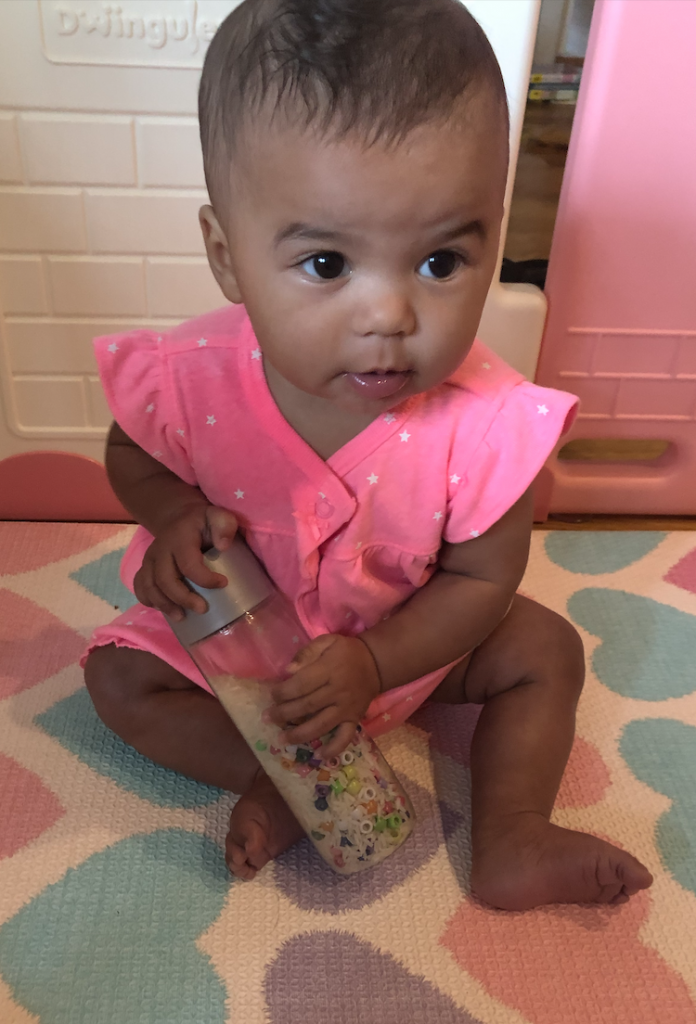
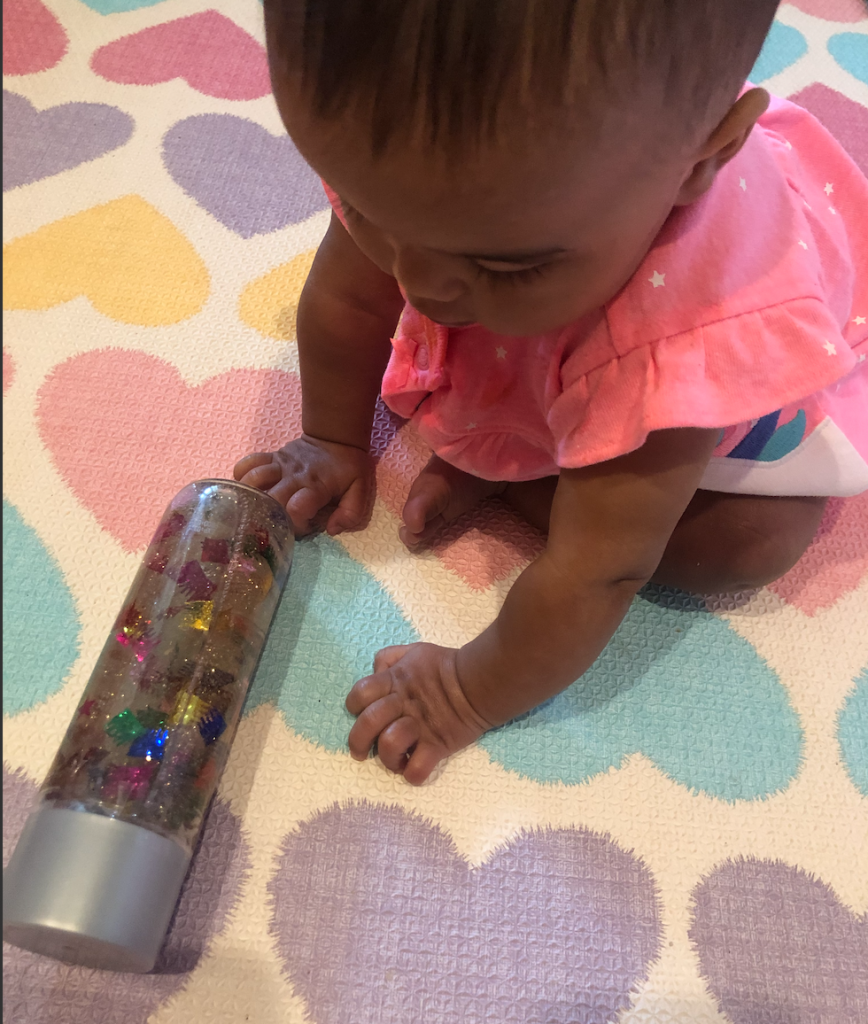
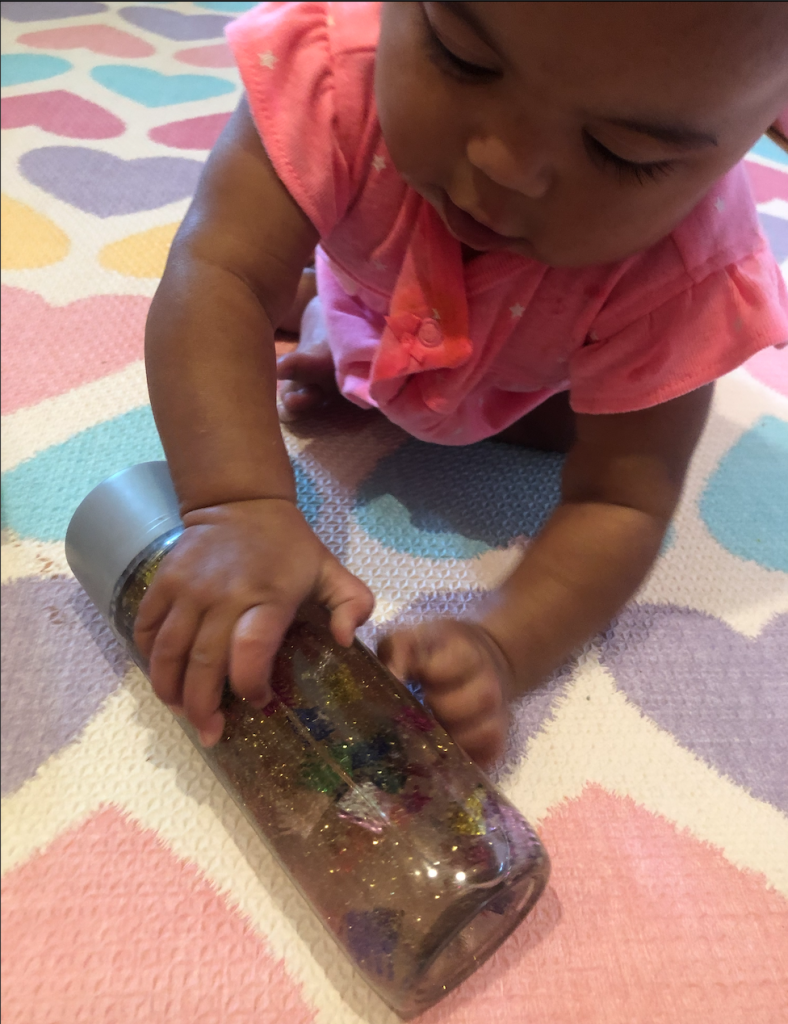
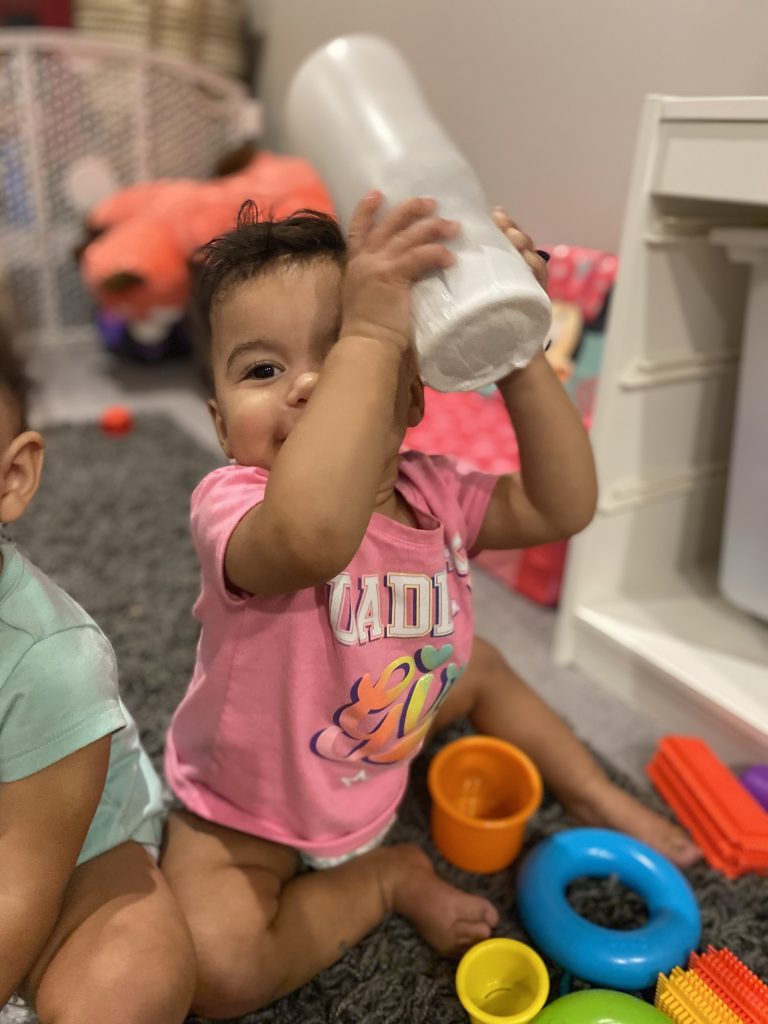
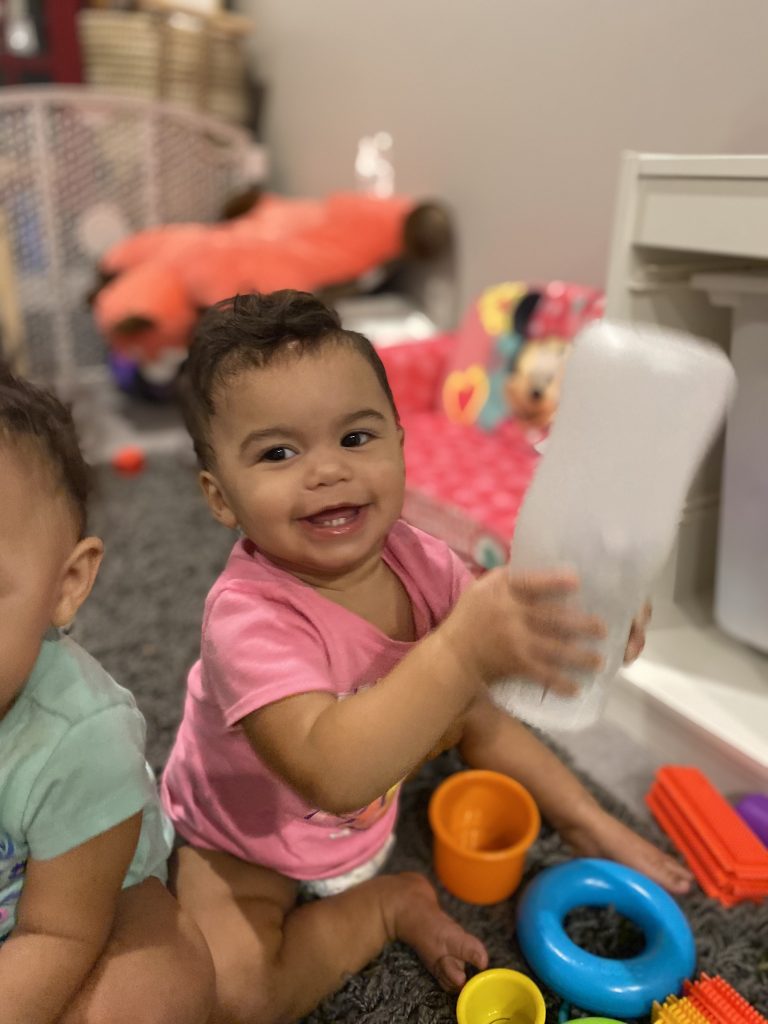
I first introduced the bottles to the girls around 8 months. The bottles were a little big for them at the time when it came to shaking, but that didn’t stop them from exploring. They were fascinated by everything inside and how it moved + they loved it when I would shake it for them. You could also do a smaller bottle. However, now that the girls are 14 months, they carry these all around and shake them like crazy.
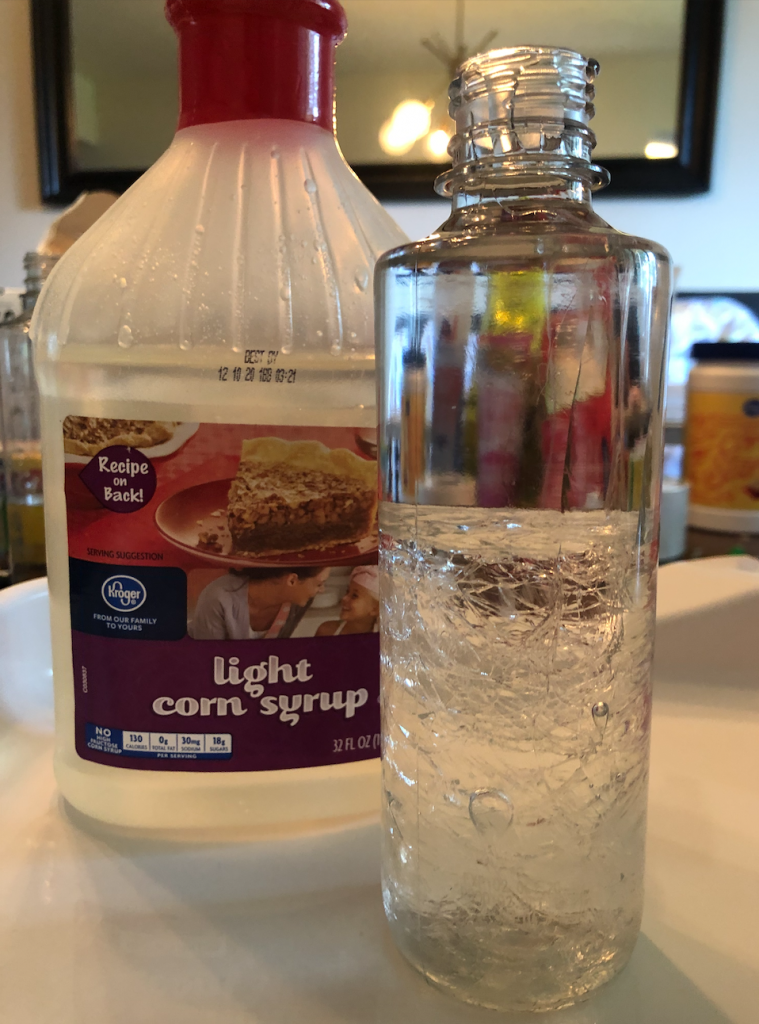
Corn Syrup, Water & Glitter Bottle
This bottle took a bit of experimenting to get it just right. The goal of this bottle was to make it move slowly, which meant I had to get the right water to corn syrup ratio. Too much water and it would be too fast. Too little syrup and it would be too slow. You could also use Softsoap clear liquid hand soap instead of corn syrup.
Step 1: Clean/dry your water bottle. If you can’t get the glue off, try using rubbing alcohol.
Step 2: Add 3/4 cup (or so) WARM water (it helps mix the corn syrup/soap better).
Step 3: Add in food coloring, gems, glitter, small toys, etc.
Step 4: Fill the rest of the bottle up with corn syrup or clear soap.
Step 5: Super glue the top down!
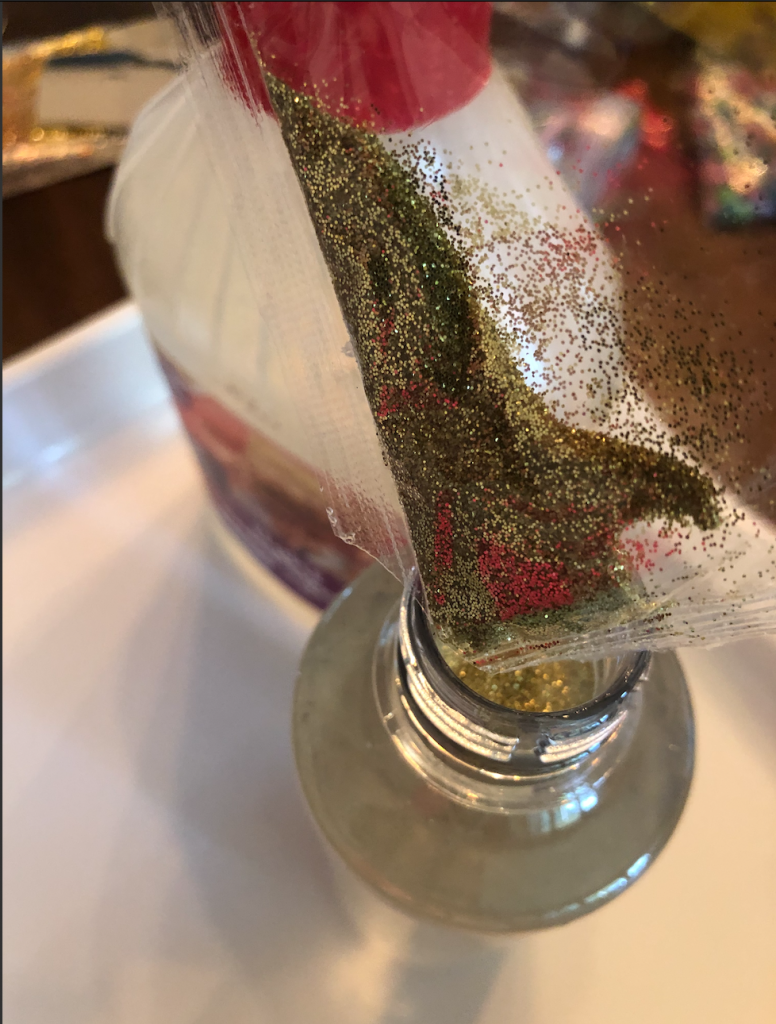
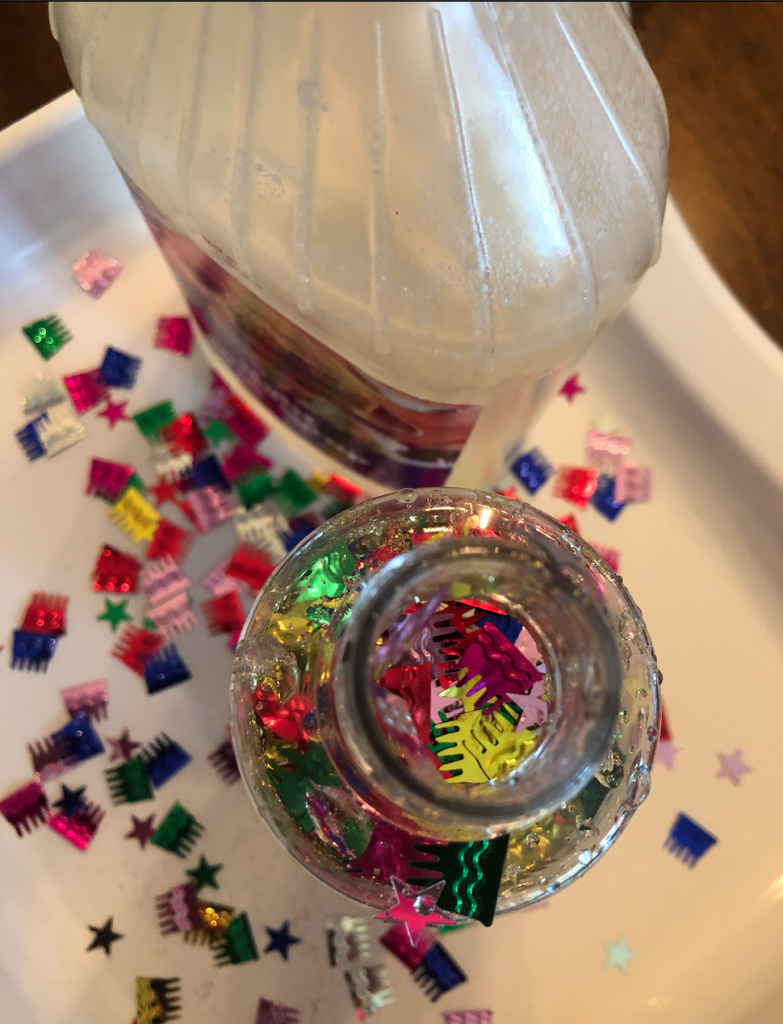
I added glitter and birthday/star sequins. It worked out perfectly!

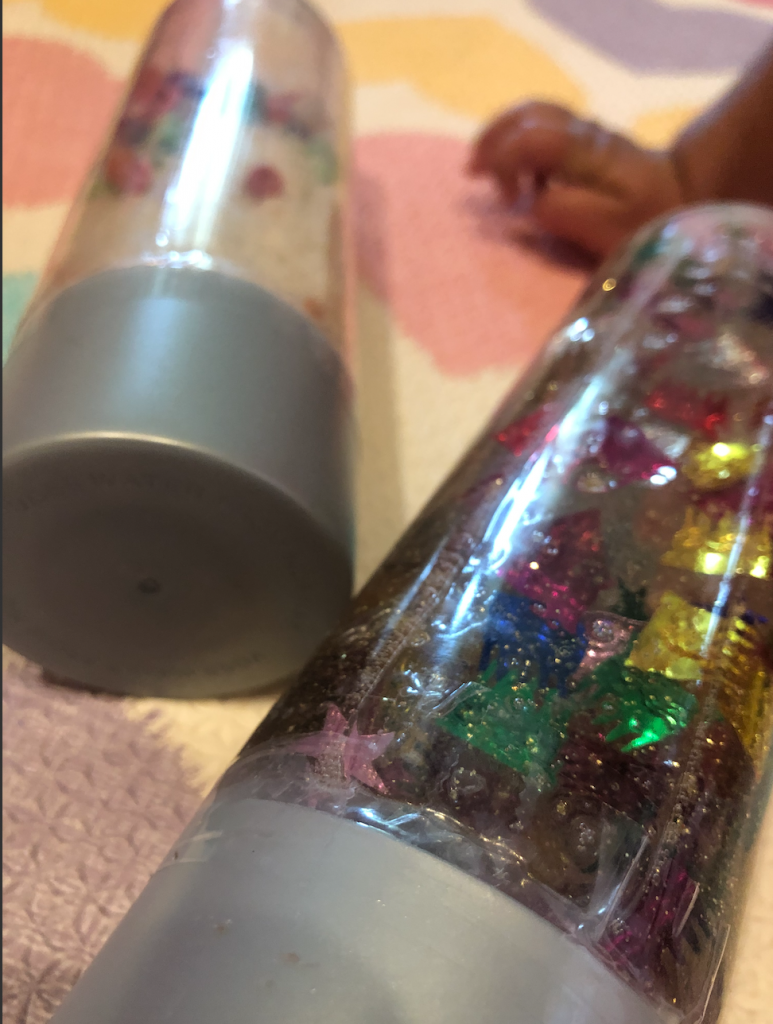
I love how slowly the birthday cakes drop as they swirl through the glitter. It was great for the girls, but also memorizing for me!
Bells and More Bells
This has to be the easiest (and loudest) sensory bottle to make! It was a last minute make. Once they ate all of the puffs, I took off the label and cleaned out the bottle. Actually, I am not sure if I did…there might be puff dust in there! Once the bottle is clean, or semi-clean, add bells! Close the top and duct tape or super glue it closed. That’s it! Now they have a new musical sensory bottle.
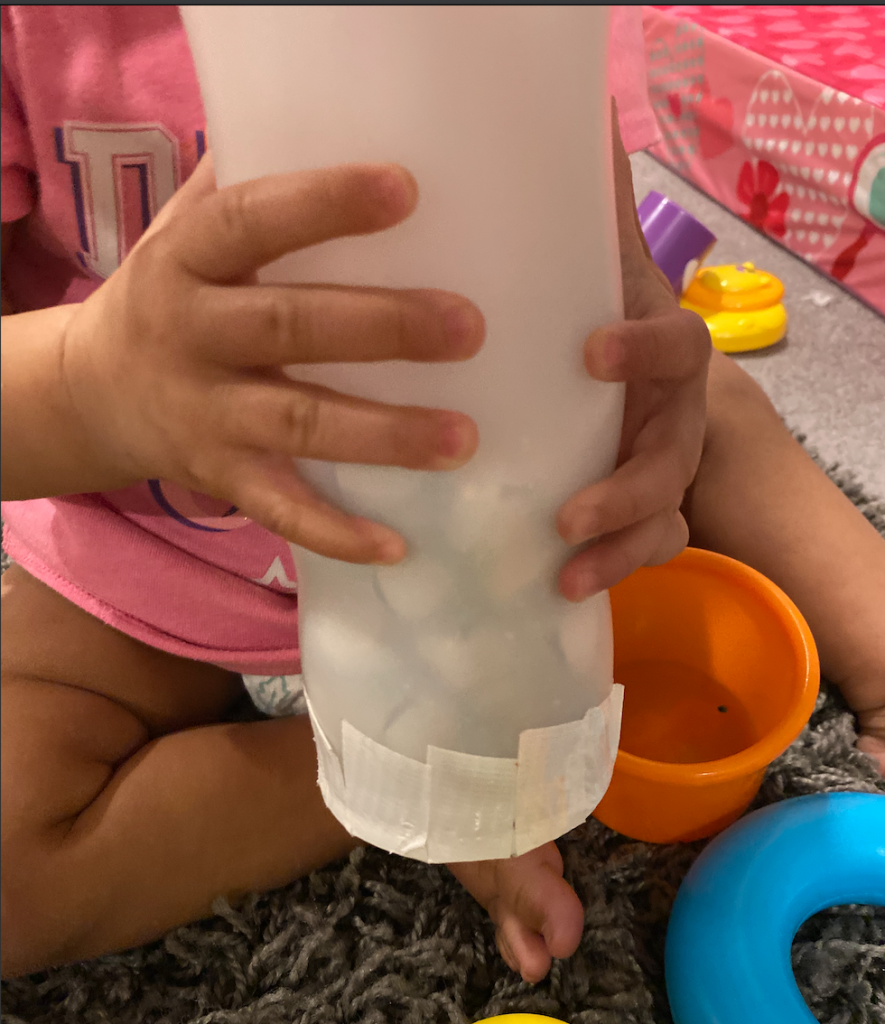
I was lucky enough to find a huge mason jar of bells at the thrift store for $2!
I hope you have the most fun creating these for or with your little ones. If you have any questions or need inspiration, shoot me a message over on Instagram.

Discover more from Eat Play CBUS
Subscribe to get the latest posts sent to your email.