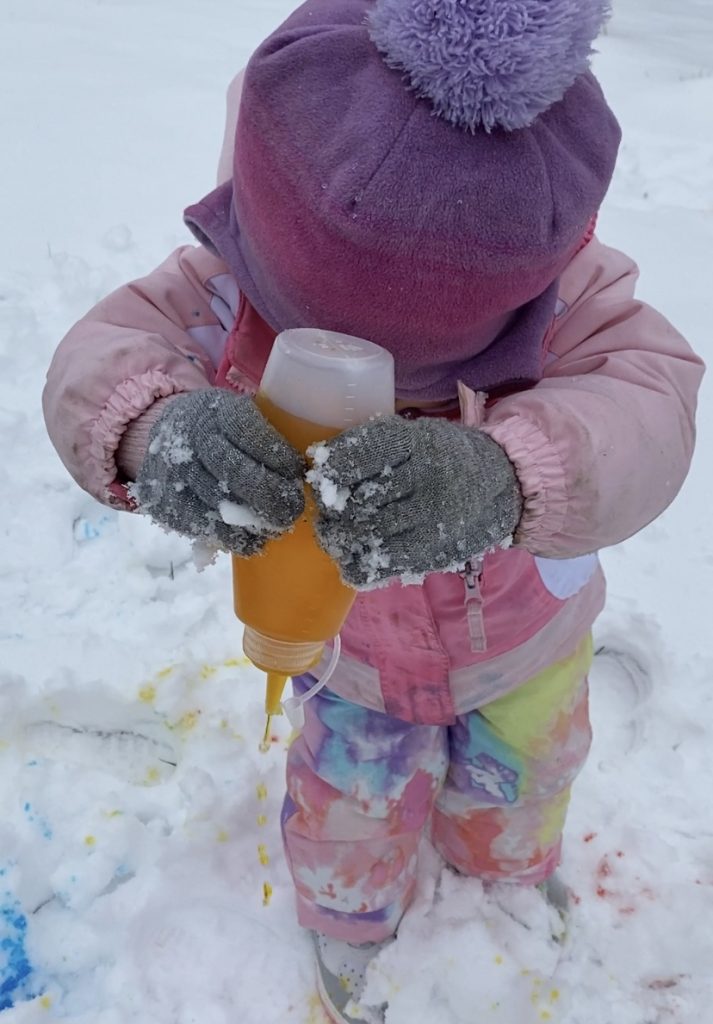
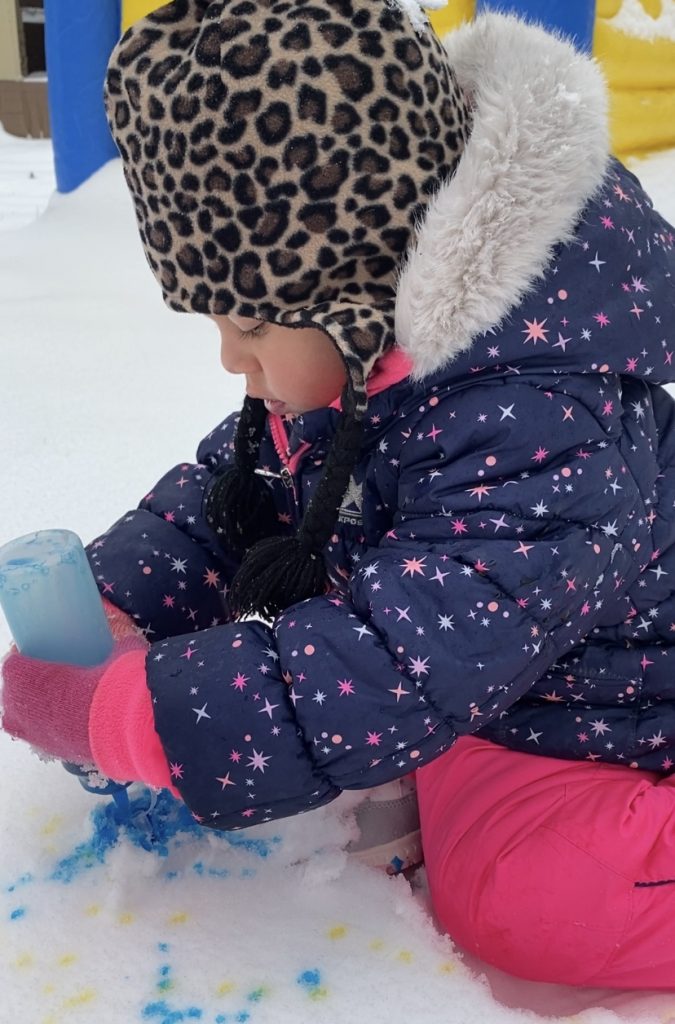
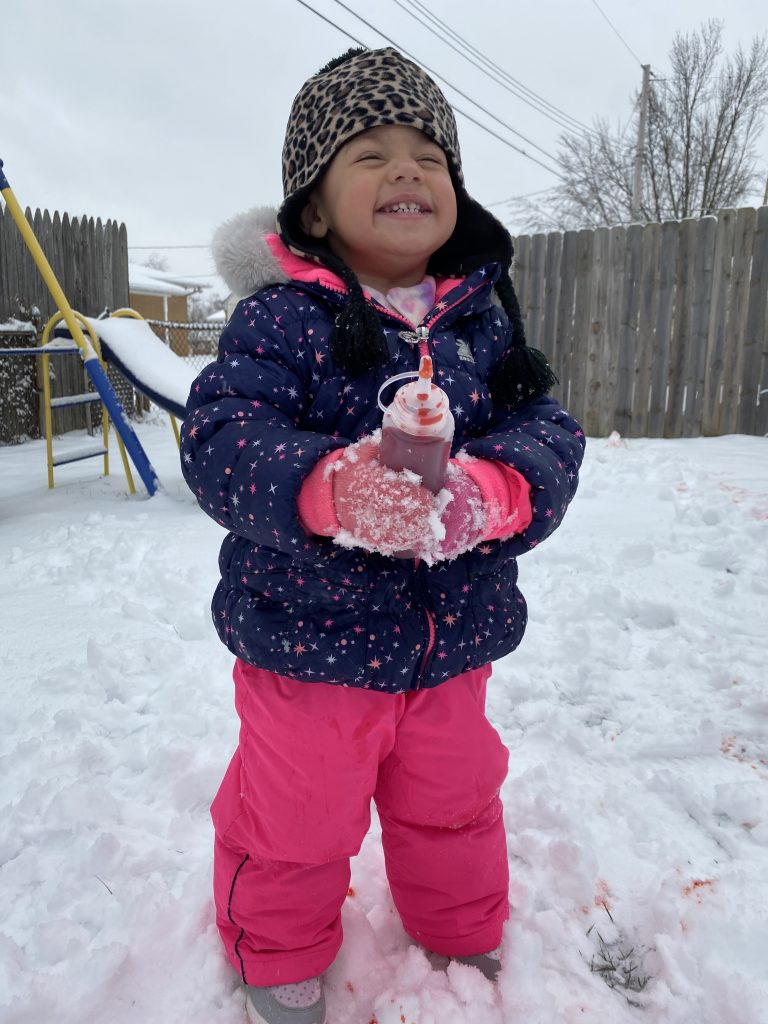
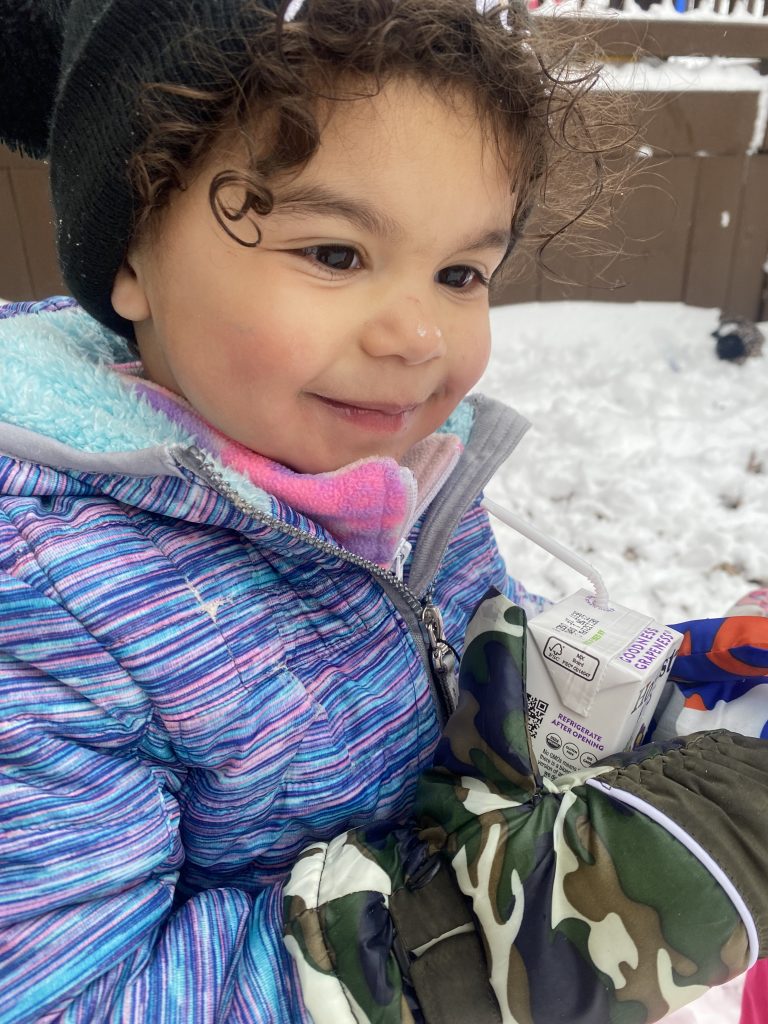
Snowday! Snowday! Snowday! This is what I was yelling to my girls when they woke up on Sunday morning. We (maybe just me) had been checking the weather for weeks, hoping for the little snowflake on the app indicating we would be getting snow. It FINALLY happened, and I was super excited. (That is until I realized how long it takes taking three toddlers ready to go out in the snow. Kidding, sort of…) The girls LOVE playing in the snow. Throwing snowballs, making snow angels, sledding, etc. They love it all. I love all of it, too. With that being said, man oh man, is it tiring trying to keep up with the girls outside. When I knew the snow was coming, I started thinking about activities we could do that didn’t require me sweating and losing my breath. (Shout-out to the parents pulling their kids in sleds all around the yard, that is not easy!)
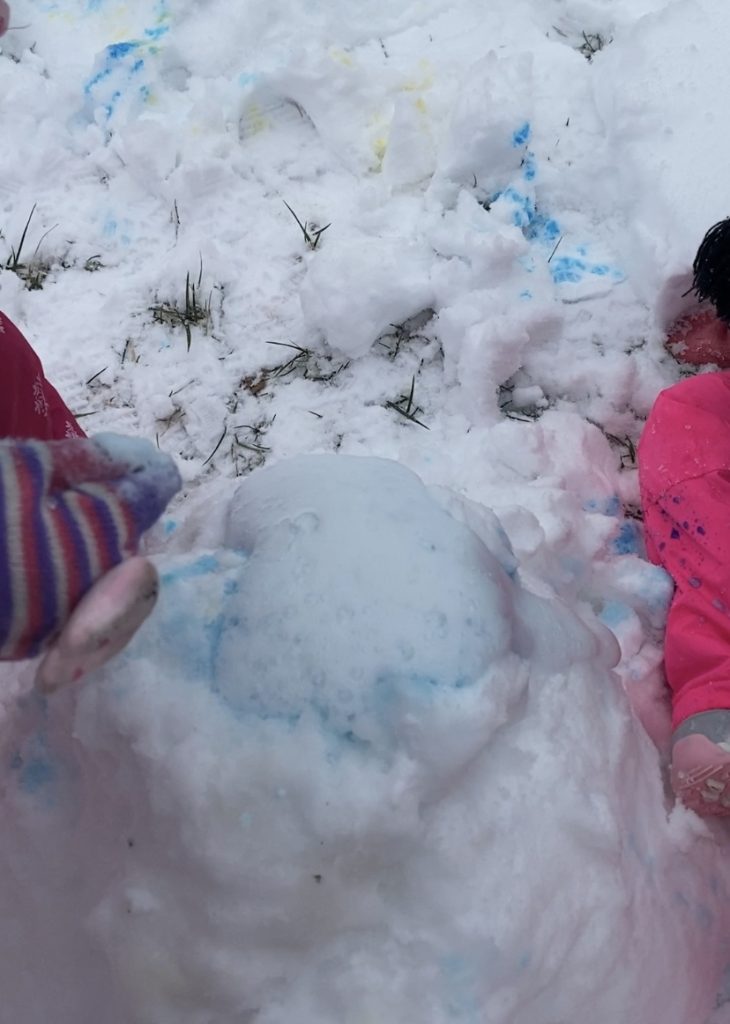
The girls LOVE to paint, and they love science experiments – so it made sense to do them both outside in the snow! This is how I came up with the idea of snow paint and snow volcanos. Both activities are SUPER easy to put together, and you more than likely already have everything you need at home.
Easy Snow Paint
What you need:
- Liquid Food Coloring or Liquid Water Colors
- Cold Water
- Squeeze Bottles or Spray Bottles
Instructions:
1. Take the lids off your squeeze bottles and put several drops of each food coloring in a different bottle.
2. Fill up bottles with cold water.
3. Tightly place the lids back on and wipe down the bottles.
4. When you get outside, take off the tops, and there ya go – snow paint!
Food coloring can stain. Try to dilute it as much as possible. I haven’t tried to the liquid water color, but I am thinking since it is washable, it wouldn’t stain!
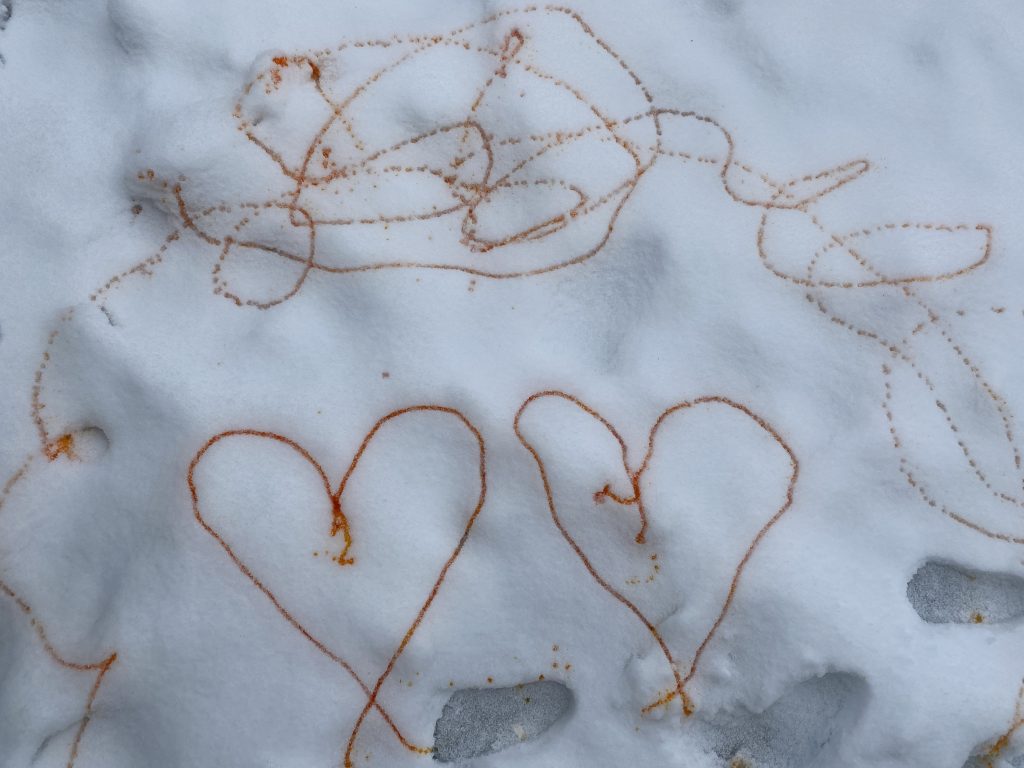
Let’s be honest: not all toddlers want to play in the snow. If that’s the case – grab a plastic bin, put the snow in it, and bring it inside. You could use the squeeze bottles or put the mix into a cup and stick it in the snow with paintbrushes!
Snow Volcano
What you need:
- Baking Soda
- White Vinegar
- Cup or Plastic Bottles
- Liquid Food Coloring
Instructions:
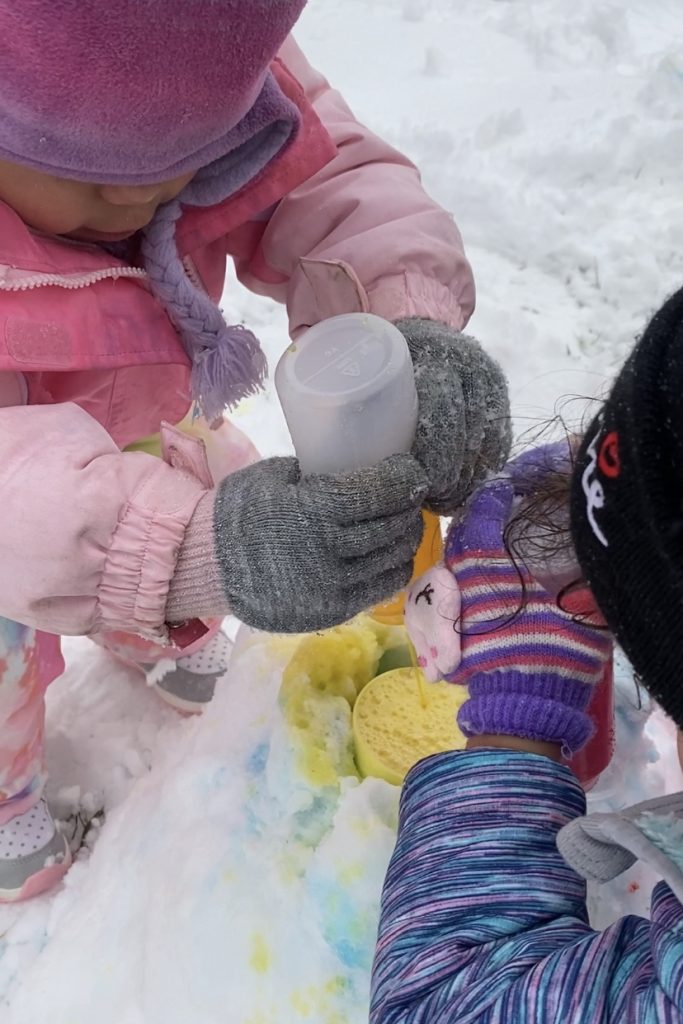
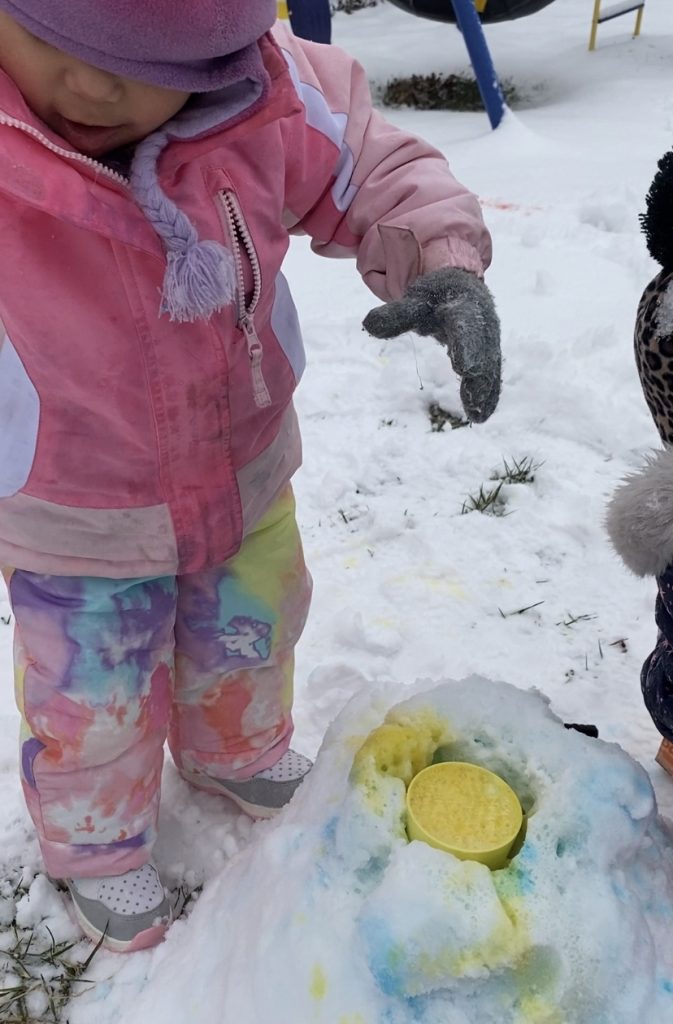
- Make the Snow Volcano. I made the base and then took the cup and set it on top, followed by piling snow up to form “the volcano”.
- Once the volcano is formed, add baking soda and food coloring into the cup.
- Now it’s time to make your volcano erupt! Add vinegar and step back! We used the squeeze bottles from the snow paint to squeeze vinegar in. It helps extend the volcano because the girls were able to slowly add vinegar versus dumping a cup full of vinegar! You could also mix the food coloring in with the vinegar.
But, remember, it is also just as fun to play in the snow……
I hope you have SNOW much fun!

Discover more from Eat Play CBUS
Subscribe to get the latest posts sent to your email.

