
I’ve figured out the perfect way to create a ball pit for toddlers at home. Best part? Everything you need is just around $100!
I’ve wanted a ball pit for the girls since they were small babes. I just think they’re so fun. Plus, they’re a great place to relax, help develop gross motor skills, eye-hand coordination and so much more.
When I started looking for a ball pit, I cam across a few that peeked my interest, but were pretty expensive. I am glad I didn’t end up going with those, as the girls would have outgrown them quickly! Then I came across more affordable options, but they just seemed flimsy and in the end the balls would be more outside of the pit vs. inside.
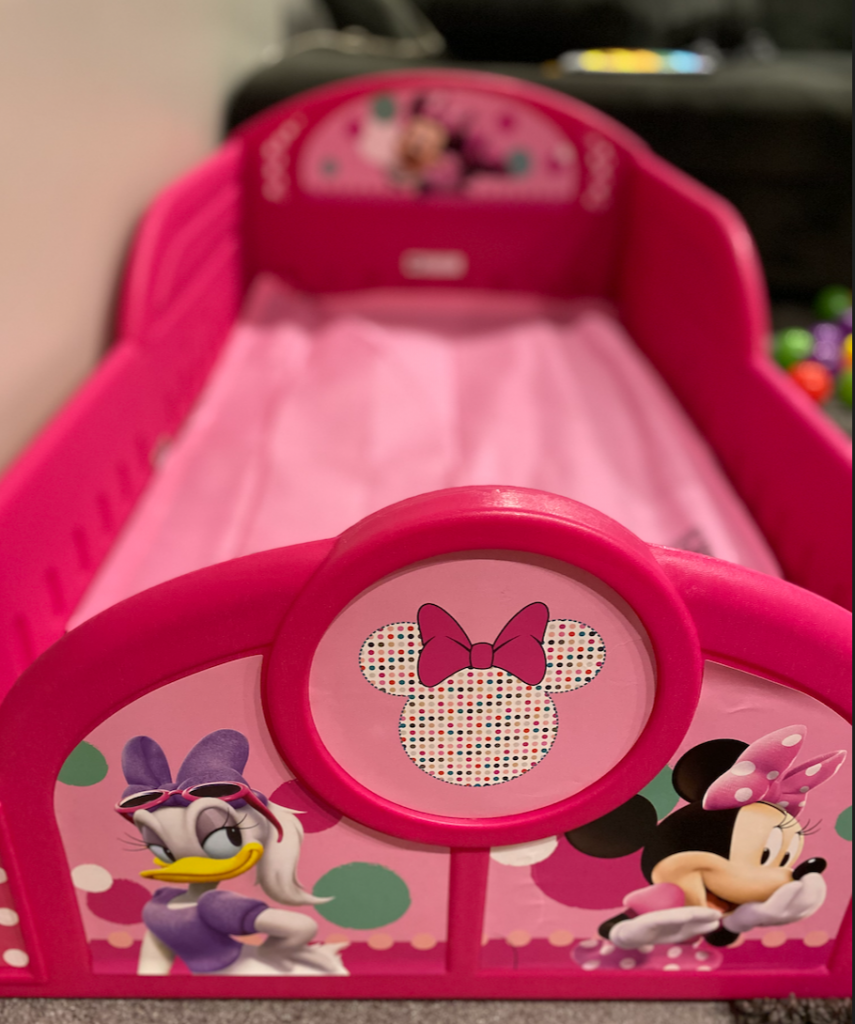
So, I found a solution and it’s pretty much thanks to Delta for letting me review their Minnie Mouse Plastic Sleep and Play Toddler Bed.
When they asked if I would review the toddler bed, I thought to myself, “The girls are not ready to transition and well, I am keeping them in cribs as long as possible!” That is when I got creative. What else could I use this bed for? It’s not too big, but not to small. It’s sturdy and the walls aren’t flimsy. Hmm. Then it hit me. Let’s fill it with balls and make it a ball pit. I wasn’t sure if it would work, but it was worth a try.

When it arrived, I couldn’t wait to put it together. It was lunchtime, but I just had to put it together. It was actually perfect timing because I was able to keep track of how long it took me to put together. Yep, it took me the exact time it took to bake the chicken nuggets, which was 15 minutes.
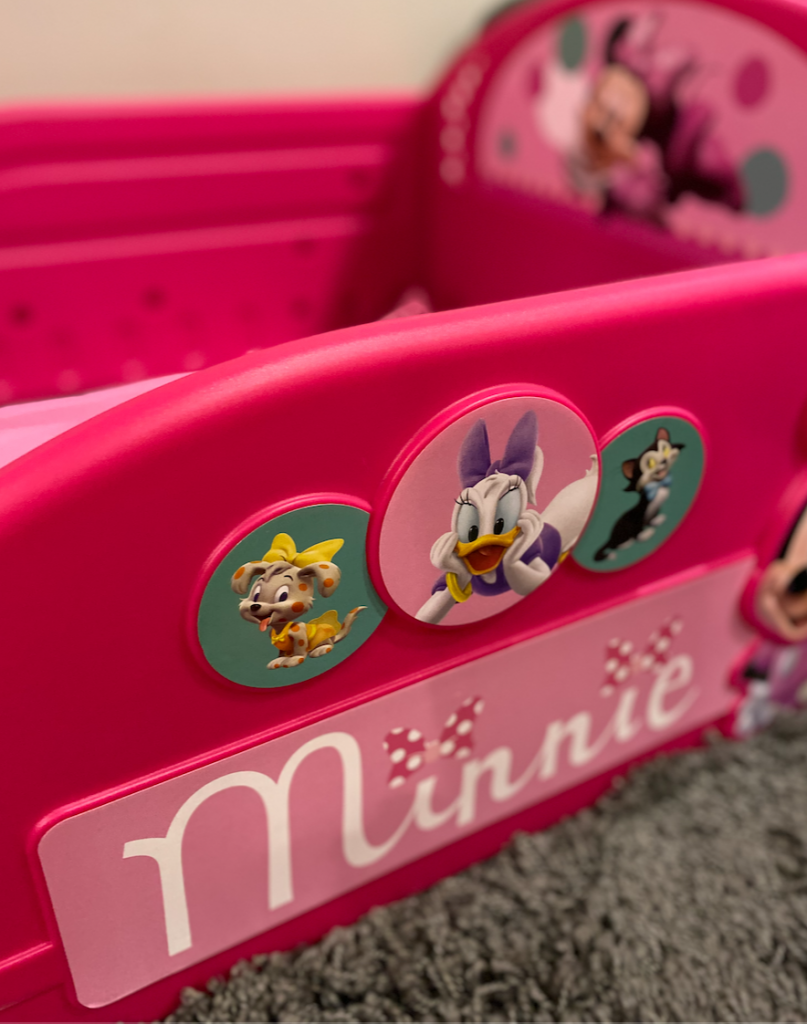
It comes in a box and inside there six pieces + stickers to put on. First, I put the stickers on. Second, I snapped the pieces together. Third, I added a few screws (which came with it) to secure it. Last, there is a piece of fabric that you attach to the bottom – which is great, as it holds the balls in! That was it! Four steps and I was done. I even had three little helpers who didn’t help that much. 😉
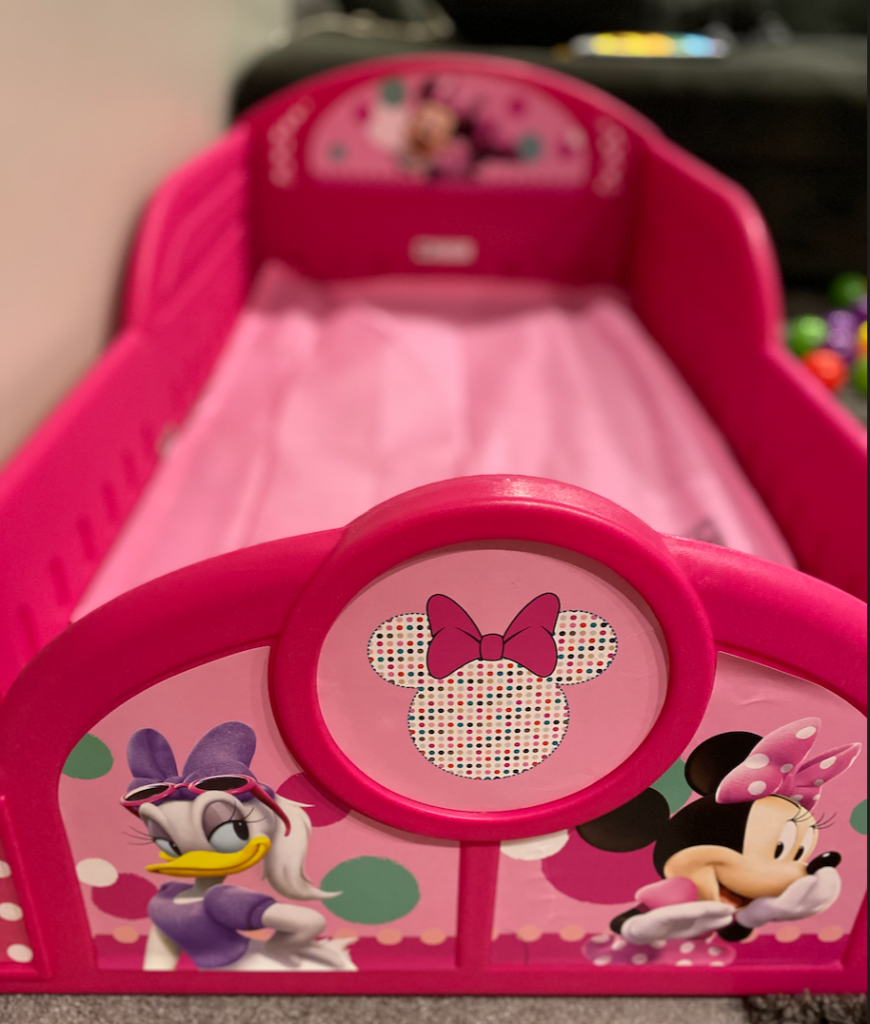
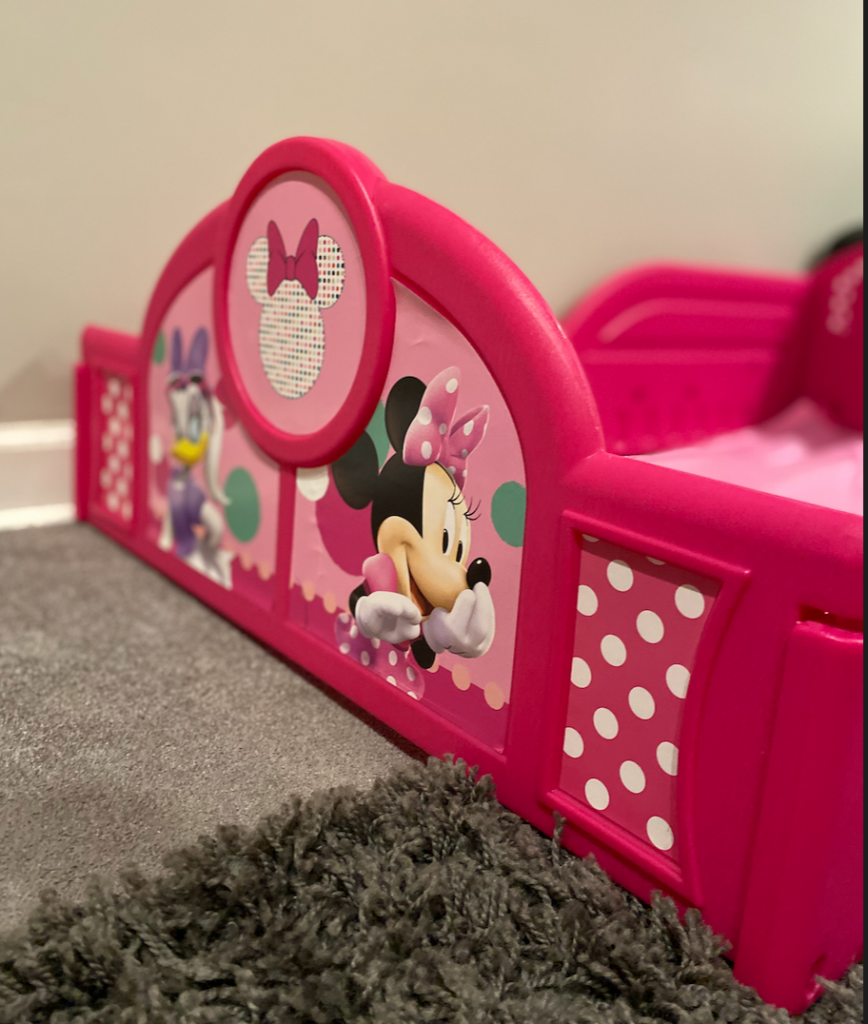
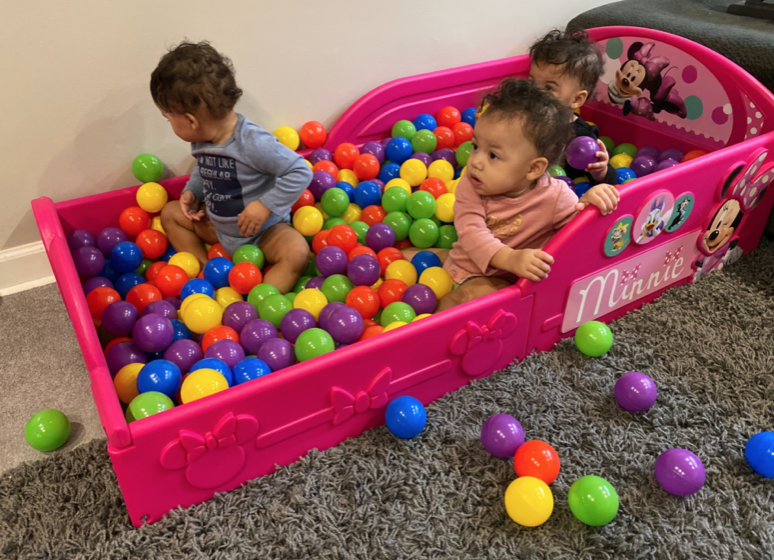
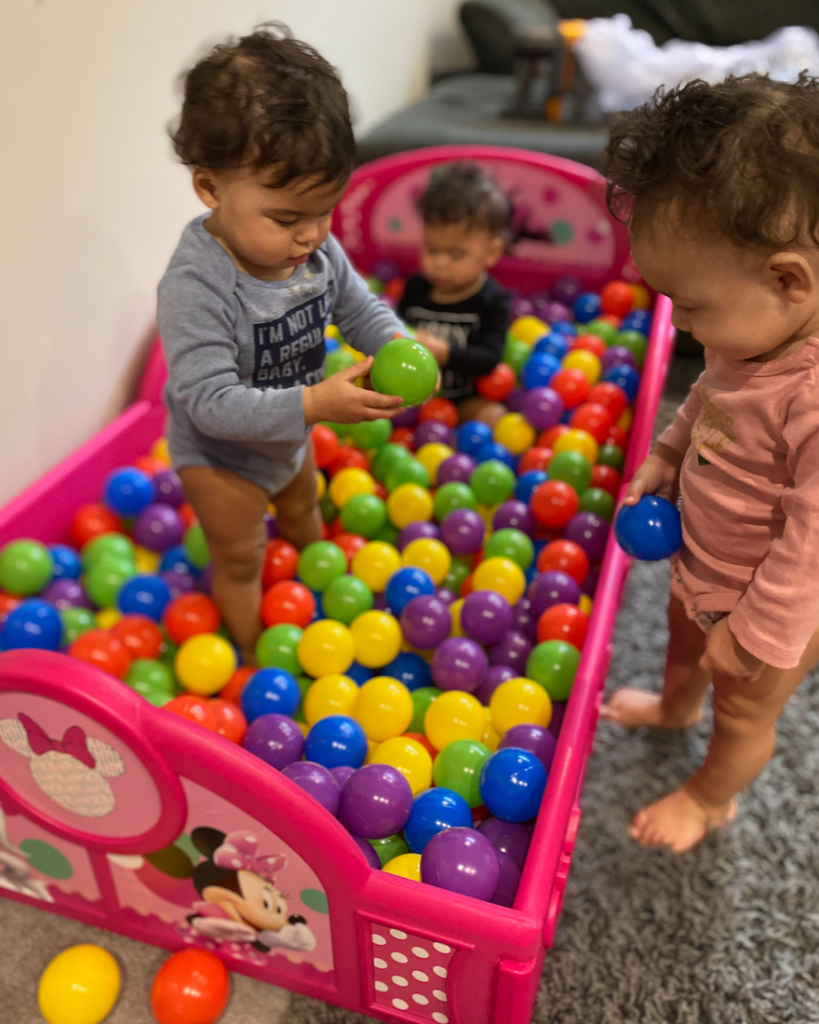
The bed is great. It is very sturdy and the walls high enough to keep the balls inside, but low enough that the girls can easily climb in.
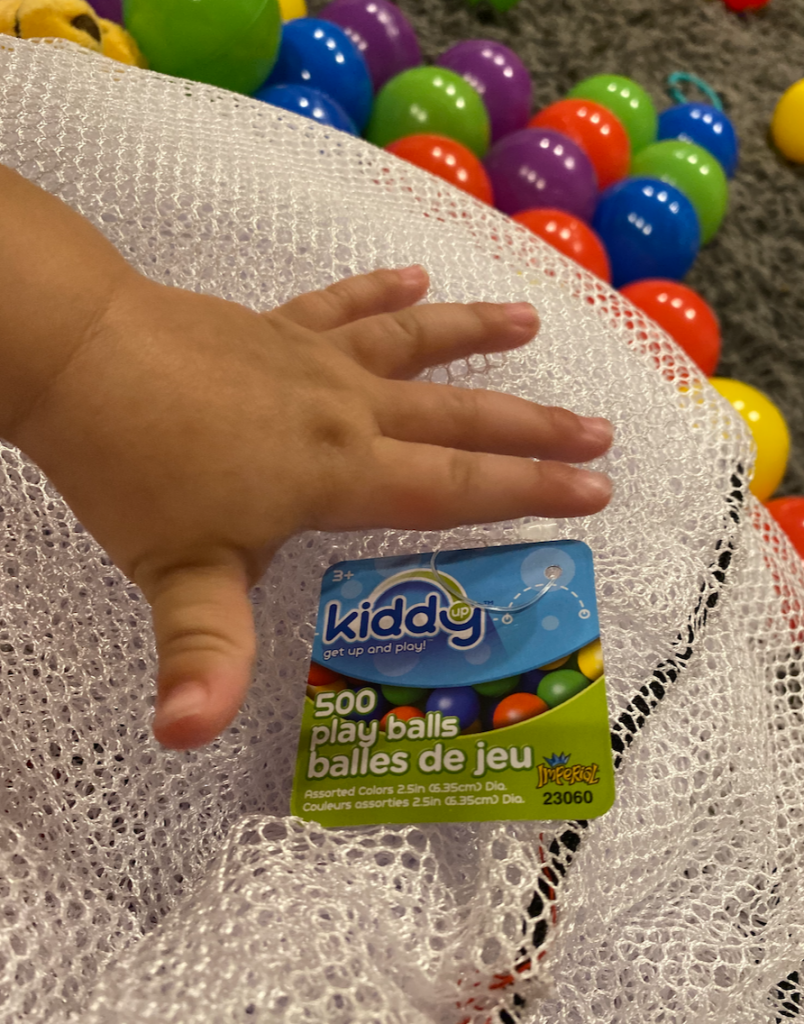
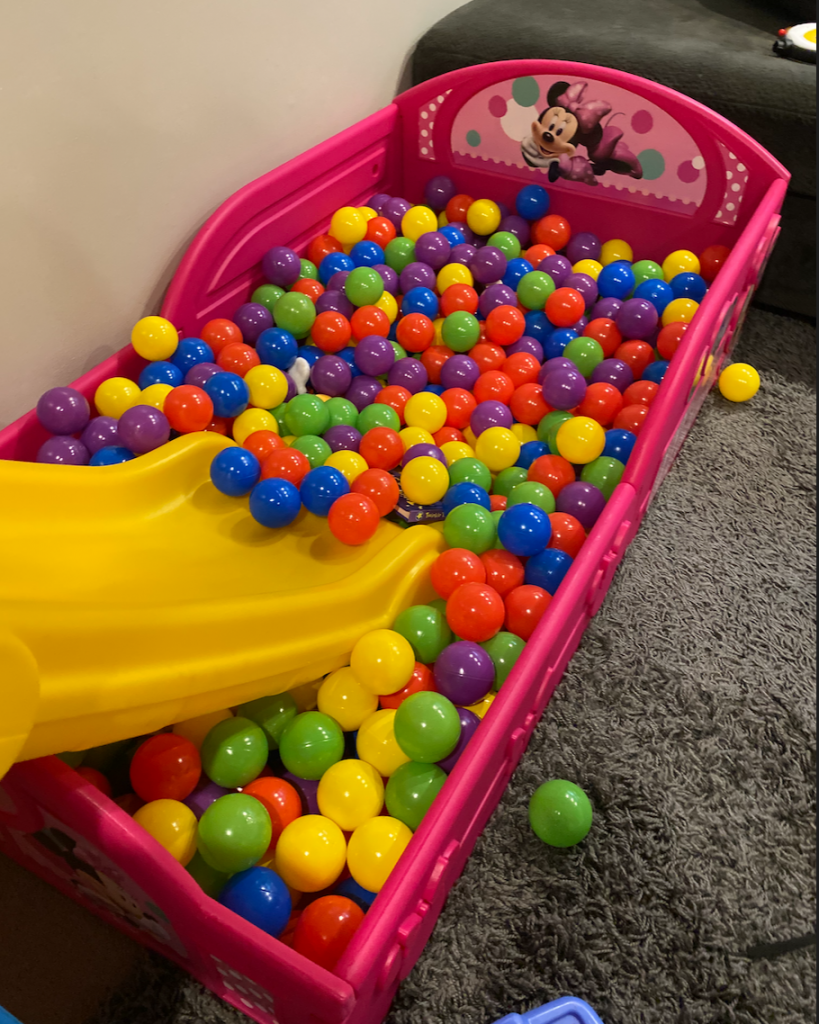
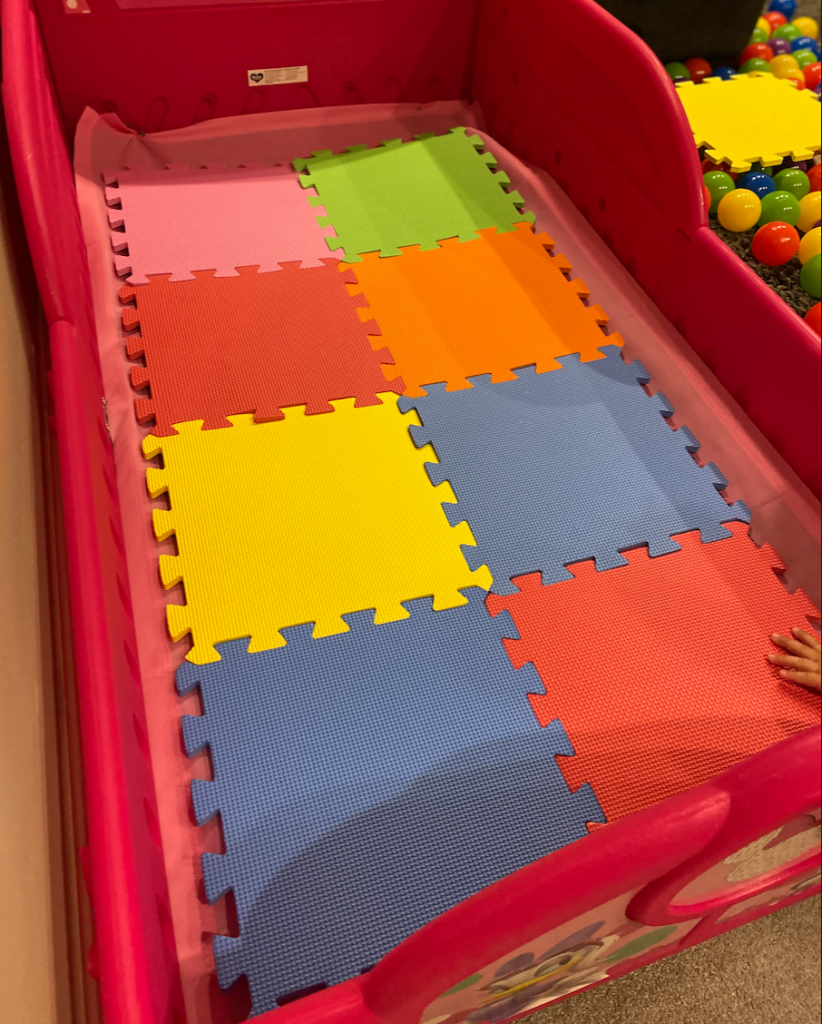
Once it was put together, I dumped 500 hundred balls into it!! Then, I thought to myself — it might be nice if I put a play mat down, just to make it a bit softer on the girls feet (there is a bar on the bottom that goes from one side to the other). When the play mat arrived the next day (thanks, amazon), I dumped all the balls out, laid the playmate down and loaded the balls back in. It took much longer vs. the initial drop as they came in a nice, mesh bag the first time.
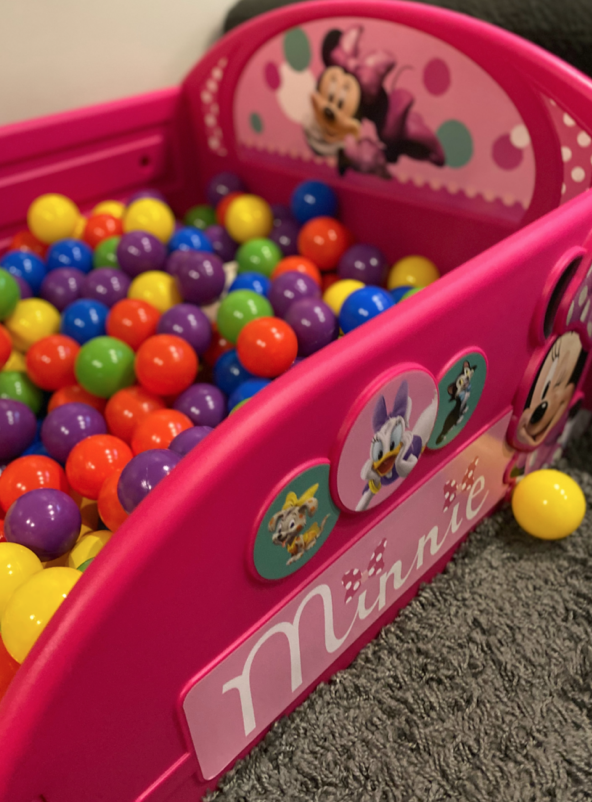
When it came to the mat, I ordered on a whim. It was $10 on Amazon and had pretty great reviews. I think it fits perfectly. I didn’t need the entire base covered, just enough to make it a bit more comfortable vs. being directly on the ground.
Purchase the bed here for $59.98.
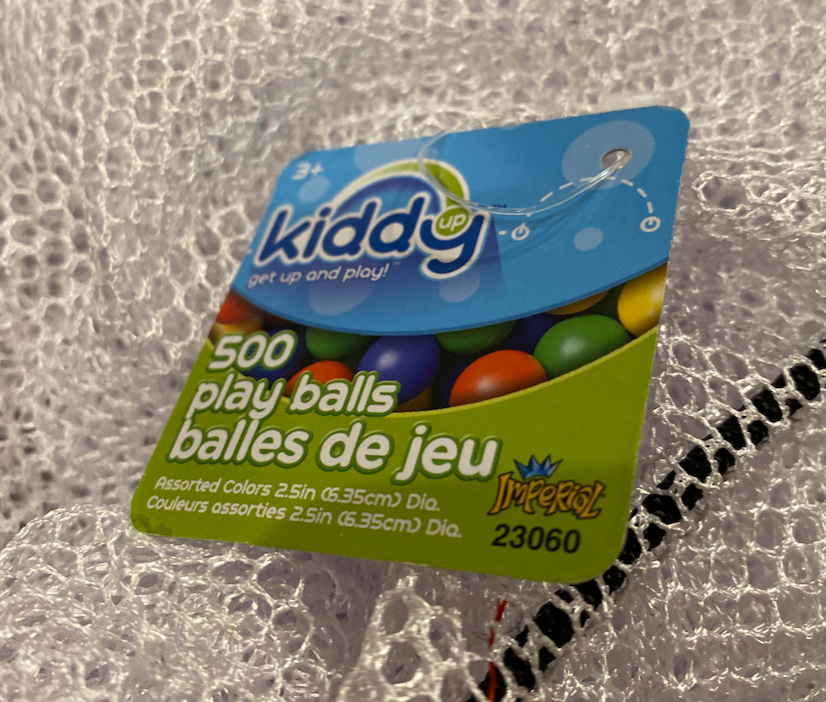
Purchase the balls here. I got them when they were on sale for $32. Looks like they’re typically $44.76).
Purchase the mat here for $12.98. (It is typically $39, but seems as if it’s always on sale)
My grand total was: $104!!
Keep in mind that you can use the bed as a toddler bed once they’re ready or decide the ball pit isn’t for them anymore! More than one use makes this thrifty mama’s heart very happy. Even better? Your crib mattress should fit in the bed, too!
I hope your kiddos enjoy just as much as ours did!

Discover more from Eat Play CBUS
Subscribe to get the latest posts sent to your email.